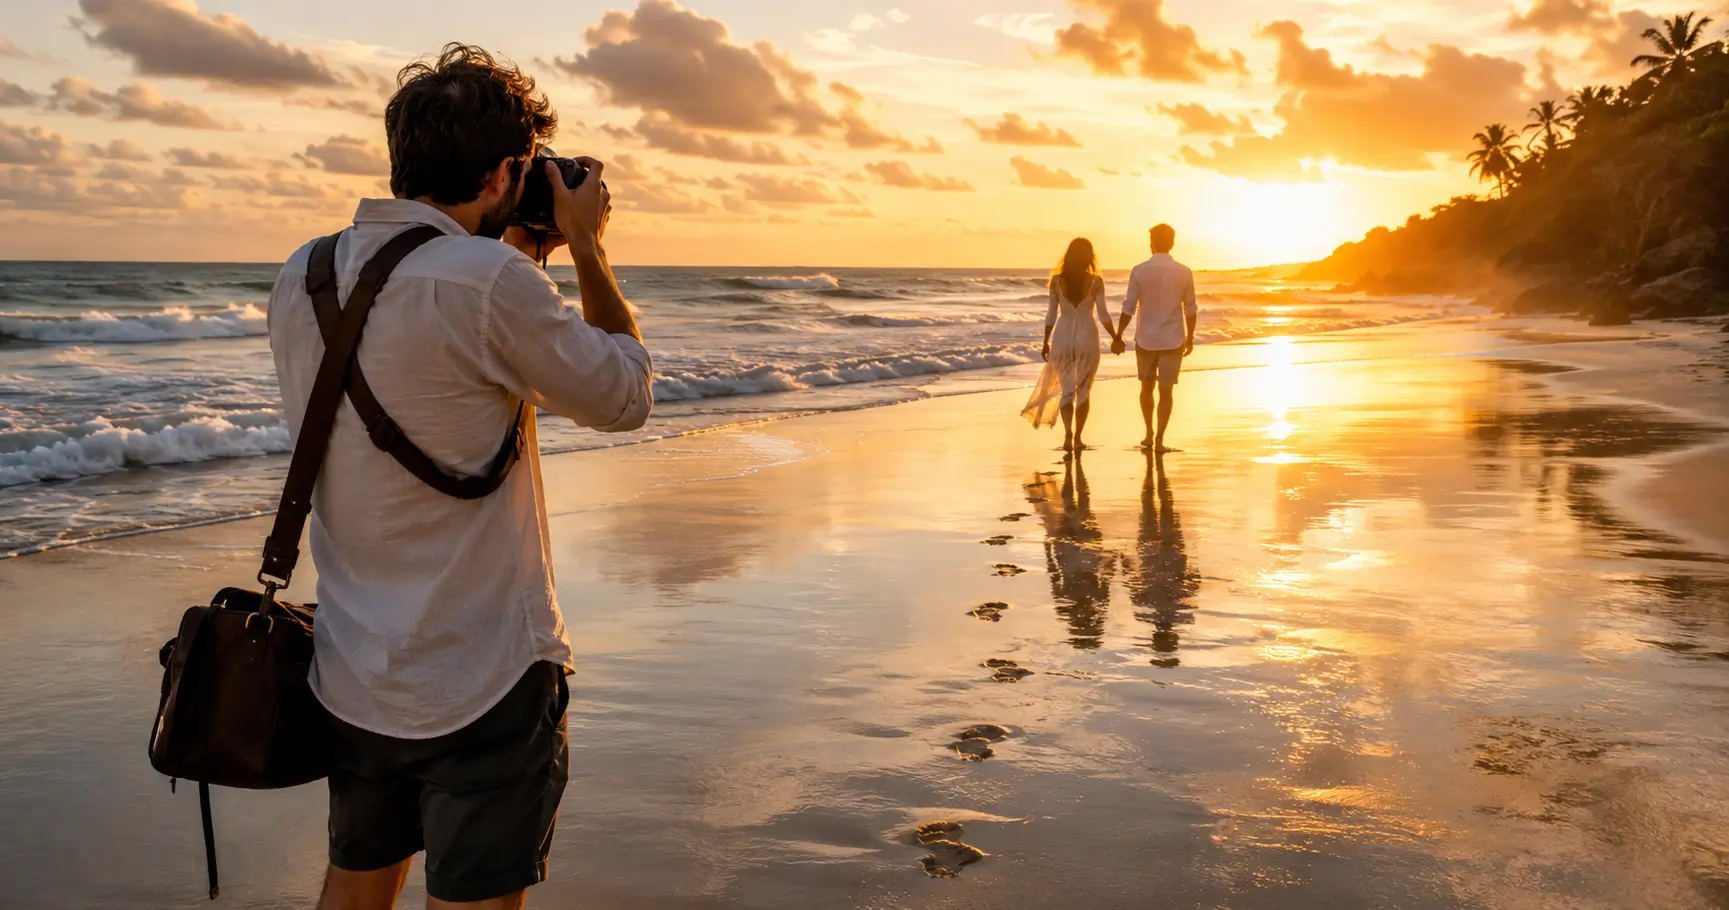
The beach already looks beautiful. So why do so many beach photos end up looking surprisingly ordinary?
The answer usually isn’t the camera. It is the way light, perspective, movement, and composition are used. With the right approach, the same stretch of sand can produce a dramatic portrait, a minimalist landscape, a romantic silhouette, or a frame that feels like a movie still.
These beach photography ideas will help you find those opportunities whether you’re carrying a mirrorless camera, DSLR, compact camera, or smartphone.
Why beach photography can be surprisingly difficult
A beach gives you plenty of visual material: water, sand, sky, rocks, reflections, people and changing light.
But that abundance can also become a problem.
A typical beach snapshot often has too much empty space, a distracting horizon, harsh overhead sunlight, or a subject that doesn’t have a clear relationship with the surroundings.
Professional-looking images usually come from making deliberate decisions about what belongs inside the frame and what should be left out.
Composition techniques such as the rule of thirds, negative space, leading lines and framing can help direct the viewer’s attention. Adobe also emphasizes that composition is about arranging elements intentionally rather than simply following fixed formulas.
25 beach photography ideas to try
1. Capture a golden-hour silhouette
Put your subject between the camera and the setting or rising sun.
Expose for the brighter sky rather than the person. The result can turn a simple pose into a graphic silhouette.
Golden hour is particularly useful because the lower position of the sun produces softer, warmer and more directional light.
2. Photograph footprints leading toward the ocean
Footprints naturally create a leading line.
Get low, place the footprints in the foreground and let them guide the viewer toward the water or horizon.
Try shooting immediately after someone has walked across damp sand before waves erase the pattern.
3. Use wet sand as a natural mirror
After a wave retreats, the wet sand can create beautiful reflections.
Place your subject near the reflective area and experiment with a low camera angle.
This works especially well around sunrise and sunset when the sky contains stronger colors.
4. Shoot from an extremely low angle
Don’t always photograph from standing height.
Lower your camera close to the sand and make a small foreground object, shell or wave appear larger.
A wide-angle lens can exaggerate this effect and create stronger depth. Nikon specifically recommends wide-angle perspectives for creating dramatic foregrounds in beach photography.
5. Photograph waves as they break
Waves provide natural movement.
Use a faster shutter speed when you want to freeze individual droplets, spray and motion.
Take several frames rather than relying on one exposure because wave shapes change dramatically from moment to moment.
6. Try a long-exposure seascape
For a completely different mood, slow the shutter speed and let moving water blur.
Use a tripod and keep the camera stable.
Smooth water combined with stationary rocks can create a calm, minimalist image.
7. Photograph a couple walking away from the camera
Forget complicated poses.
Ask a couple to walk naturally along the shoreline while talking to each other.
The interaction often looks more authentic than a heavily directed pose.
Shoot several frames as they move through the scene.
8. Create a romantic silhouette
For couples, sunset silhouettes are almost impossible to ignore when the composition is strong.
Try:
- Holding hands
- Walking together
- Forehead-to-forehead portraits
- Sitting beside the water
- Looking toward the horizon
Keep the pose simple and let the environment provide the drama.
9. Make a jump shot
Jumping creates instant energy.
Use burst mode and a relatively fast shutter speed.
Ask the subject to jump several times rather than trying to capture the perfect frame on the first attempt.
The best frame may be the one immediately before or after the highest point.
10. Photograph hands, feet and small details
Not every beach photograph needs a face.
Try close-ups of:
- Bare feet in wet sand
- Hands holding seashells
- Sand patterns
- Sunglasses
- Beach towels
- Water droplets
- Textures in rocks
These detail shots are particularly useful for creating a complete visual story from a trip.
11. Frame your subject through natural elements
Use rocks, vegetation, umbrellas, arches, driftwood or other foreground objects to create a natural frame.
The technique gives the viewer a visual path toward the subject.
It also helps prevent a wide beach scene from feeling visually empty. Adobe describes framing as a way of selecting and arranging elements so they direct attention toward the subject.
12. Put the horizon on a third
A centered horizon can work, but it isn’t always the strongest choice.
If the sky is dramatic, give it more space.
If the foreground contains interesting sand, rocks or reflections, give the foreground more space.
The rule of thirds is best treated as a composition guideline, not a mandatory law.
13. Photograph a subject against negative space
Put one person against a large area of clean sky, sand or ocean.
This minimalist approach can make a small subject feel emotionally significant.
It is particularly effective when you want a calm, editorial or cinematic aesthetic.
14. Capture the sun between your fingers
This classic illusion can still work.
Position the camera so the sun appears close to the person’s hand.
Move your camera and subject slightly until the perspective creates the illusion.
Take several versions because small changes in positioning can make a huge difference.
15. Shoot through beach grass
Foreground vegetation can add depth.
Place some grass slightly out of focus in front of your subject while keeping the person sharp.
The technique creates layers:
foreground → subject → ocean → sky.
That layering makes a simple portrait feel more dimensional.
16. Photograph reflections after sunset
Don’t pack your camera away when the sun disappears.
The period after sunset can produce softer, cooler colors and reflections.
A tripod becomes particularly useful as the available light decreases.
17. Try black-and-white beach photography
Color isn’t always necessary.
Black-and-white processing can emphasize:
- Texture
- Waves
- Shadows
- Human silhouettes
- Cloud formations
- Patterns in sand
This works particularly well on cloudy or dramatic days.
18. Capture beach activity
Look beyond posed portraits.
Photograph people:
- Surfing
- Running
- Playing volleyball
- Flying kites
- Walking dogs
- Playing in shallow water
- Building sandcastles
Action creates a stronger sense of place and makes the photograph feel lived-in.
19. Use an overhead perspective
If you have a safe elevated viewpoint, photograph downward.
Look for patterns created by:
- Towels
- Umbrellas
- Footprints
- People
- Waves
- Boards
- Beach furniture
An overhead composition can transform familiar objects into abstract shapes.
20. Create a minimalist horizon shot
Sometimes the strongest photograph contains almost nothing.
Place the horizon carefully, remove distracting objects and use a single focal point.
A lone person walking along the shoreline can provide enough visual interest for the entire frame.
21. Photograph the beach during cloudy weather
Don’t cancel the shoot simply because the sun disappears.
Clouds can produce softer and more even light, especially for portraits.
Adobe notes that cloudy beach conditions can be useful for flattering portraits because the light is softer than harsh midday sunlight.
Clouds can also create dramatic backgrounds for landscape photography.
22. Try motion blur intentionally
Instead of freezing everything, allow some movement.
Keep the camera relatively steady while allowing waves, people or flowing fabric to move during a longer exposure.
The result can feel more artistic than a perfectly frozen frame.
23. Photograph from the waterline
Get close to the edge where the water meets the sand.
Use the shoreline as a leading line through the image.
Be careful with incoming waves, slippery surfaces and your equipment.
Never risk expensive gear merely to gain a few extra inches of perspective.
24. Create a visual beach story
Instead of searching for one perfect photograph, create a sequence.
For example:
- Wide beach landscape
- Walking portrait
- Close-up of footprints
- Wave detail
- Food or drink
- Sunset silhouette
- Night or blue-hour scene
This approach produces a much stronger travel gallery than twenty nearly identical selfies.
25. Photograph the same location twice
Here’s one of the easiest experiments.
Photograph the same beach at sunrise and sunset.
Then compare:
- Shadows
- Colors
- Crowds
- Reflections
- Contrast
- Subject placement
- Overall mood
You’ll quickly see how dramatically light changes the visual character of the same location.
The best time for beach photography
For many beach scenes, sunrise and sunset are the easiest times to achieve attractive natural light.
The low sun produces warmer illumination and longer shadows, while early or late shooting can also help avoid crowds.
Adobe recommends shooting around sunrise and sunset for beach scenes and warns that bright midday conditions can produce very strong contrast.
That doesn’t mean midday is useless.
Overcast weather, architectural beach scenes, close-up textures and intentional high-contrast photography can all work during brighter hours.
The important lesson is to match the lighting to the visual story you want.
Simple camera settings for beach photography
There is no universal “beach setting.”
Your settings should change according to the subject and desired effect.
| Photography goal | Useful starting point |
|---|---|
| Beach landscape | ISO 100, around f/8–f/11 |
| Portrait | Around f/2.8–f/5.6 |
| Frozen waves | Fast shutter speed |
| Blurred water | Slow shutter + tripod |
| Sunset silhouette | Expose for the sky |
| Moving subjects | Fast shutter + burst mode |
| Smartphone | HDR/Pro controls where available |
These are starting points, not fixed rules.
Your camera’s metering system, lens, weather and creative intention all affect the final settings.
For bright scenes, protecting highlights is especially important. Adobe recommends considering modest underexposure in bright conditions when shooting RAW/DNG so highlight detail can be preserved and shadows recovered later.
Can you take good beach photos with a phone?
Absolutely.
Modern smartphones are capable of excellent beach images, particularly in good daylight.
The biggest improvements often come from better composition rather than better hardware.
Before pressing the shutter:
- Clean the lens.
- Turn on the composition grid.
- Tap your subject to control focus and exposure.
- Move closer instead of relying heavily on digital zoom.
- Try several angles.
- Capture both horizontal and vertical versions.
- Review the horizon before moving on.
Adobe’s beach-photography guidance also notes that smartphones can be used effectively for beach photography and recommends using available camera controls such as HDR where appropriate.
How to make beach photos look more cinematic
“Cinematic” doesn’t mean adding heavy filters.
It usually comes from intentional composition, controlled light, depth and storytelling.
Try this simple formula:
Subject + foreground + leading line + directional light + clean background.
For example, imagine a person walking along wet sand just before sunset.
The person becomes the subject.
The footprints become the leading line.
The wet sand becomes the reflective foreground.
The sunset supplies directional light.
The open ocean provides a clean background.
Suddenly, an ordinary beach walk becomes a photograph with structure.
Common beach photography mistakes
Shooting everything at noon
Harsh overhead light can produce deep facial shadows and excessive contrast.
Better approach: Try early morning, late afternoon or cloudy conditions.
Keeping the horizon crooked
A tilted horizon is especially distracting in seascapes.
Better approach: Enable your camera’s level or grid.
Centering every subject
Centered compositions aren’t automatically bad, but using them for every photograph quickly becomes repetitive.
Better approach: Experiment with thirds, negative space and intentional centered compositions.
Taking only wide shots
A beach isn’t just a landscape.
Better approach: Combine wide, medium and close-up images.
Ignoring the foreground
A huge empty foreground can make a beautiful scene feel flat.
Better approach: Add footprints, rocks, shells, reflections or vegetation.
Changing lenses in blowing sand
Sand and salt are genuine equipment hazards.
Adobe recommends avoiding unnecessary lens changes at the beach and protecting equipment from sand, saltwater and excessive heat.
Beach photography myths vs facts
| Myth | Reality |
|---|---|
| You need an expensive camera | A phone can produce excellent images |
| Sunset is the only good time | Sunrise, cloudy weather and blue hour can work beautifully |
| Every photo needs a person | Landscapes and details can be stronger |
| More editing means better photos | Strong composition matters first |
| The rule of thirds must always be followed | It is a guideline that can be intentionally broken |
| You need perfect weather | Clouds can create soft, dramatic light |
A simple beach photography workflow
If you’re visiting a beach specifically to take photographs, use this five-step process.
Step 1: Scout before shooting
Walk around for five to ten minutes.
Look for interesting foregrounds, clean backgrounds, reflections and natural leading lines.
Step 2: Watch the light
Don’t immediately start photographing.
Notice where the sun is coming from and how it changes the scene.
Step 3: Shoot wide first
Capture an establishing photograph showing the location.
Then progressively move closer.
Step 4: Change your perspective
Try standing, crouching and getting close to the ground.
Take horizontal and vertical versions.
Step 5: Leave after getting the shot
Once you have enough images, stop.
Photography becomes more productive when you’re looking deliberately rather than firing hundreds of identical frames.
Key takeaways
The strongest beach photography ideas aren’t necessarily complicated.
Remember these principles:
- Shoot during flattering light when possible.
- Use reflections and wet sand creatively.
- Get lower for stronger foreground depth.
- Use people to tell stories rather than simply pose them.
- Experiment with silhouettes and negative space.
- Use a tripod for intentional long exposures.
- Protect your camera from sand, salt and water.
- Don’t depend on expensive equipment.
- Use composition deliberately.
- Take several perspectives of the same scene.
The biggest transformation often happens when you stop asking, “What should I photograph?” and start asking, “What can I do differently with the light, perspective and subject in front of me?”
That question turns almost any beach into a creative playground.
FAQ
What are the best beach photography ideas for beginners?
Start with golden-hour portraits, silhouettes, footprints, reflections, wave photographs, wide landscapes and simple walking shots. These techniques require more attention to composition than expensive equipment.
What is the best time for beach photography?
Sunrise and sunset are often the easiest times to achieve attractive natural light. Golden-hour light is softer and more directional than harsh midday sunlight.
Can I take good beach photos with my phone?
Yes. Modern smartphones can produce excellent beach photographs. Clean the lens, use grid lines, experiment with exposure and capture several perspectives instead of relying on automatic snapshots.
What camera settings are best for beach photography?
There is no single best setting. As a starting point, use low ISO in bright conditions, a smaller aperture for landscapes and a fast shutter speed for moving waves or people. Adjust settings according to the desired effect.
How do you make beach photos look cinematic?
Use intentional composition, directional light, foreground elements, reflections, silhouettes, negative space and layered depth. Cinematic results usually come from controlling these elements rather than simply applying a filter.
How do you protect a camera at the beach?
Keep the camera away from sand and saltwater, avoid unnecessary lens changes, use protective storage and clean equipment carefully after shooting. Adobe specifically recommends protecting cameras from sand, saltwater and excessive heat.
Conclusion
A great beach photograph isn’t created simply because the beach is beautiful.
It happens when you notice something ordinary and photograph it differently.
Use wet sand as a mirror. Turn footprints into leading lines. Shoot silhouettes at sunset. Get lower than usual. Capture movement. Try black and white. Photograph details instead of always photographing faces. And don’t be afraid to return to the same location when the light changes.
Most importantly, don’t wait for the perfect camera or perfect beach.
Your next memorable photograph could come from a smartphone, a quiet shoreline, a cloudy afternoon or a few minutes of golden light.
Choose three ideas from this guide on your next beach visit and deliberately shoot each one from multiple angles. You’ll quickly discover which visual style feels most natural to you—and that’s where better photography really begins.
Disclaimer
Photography Disclaimer: The camera settings, techniques and recommendations in this article are general educational guidance rather than universal rules. Lighting, weather, equipment, location and personal creative goals can significantly affect results. Always follow local beach regulations and exercise appropriate caution around water, waves, cliffs, wildlife and changing tides. Protect photography equipment from sand, saltwater and extreme temperatures, and never put yourself or others at risk to capture a photograph.