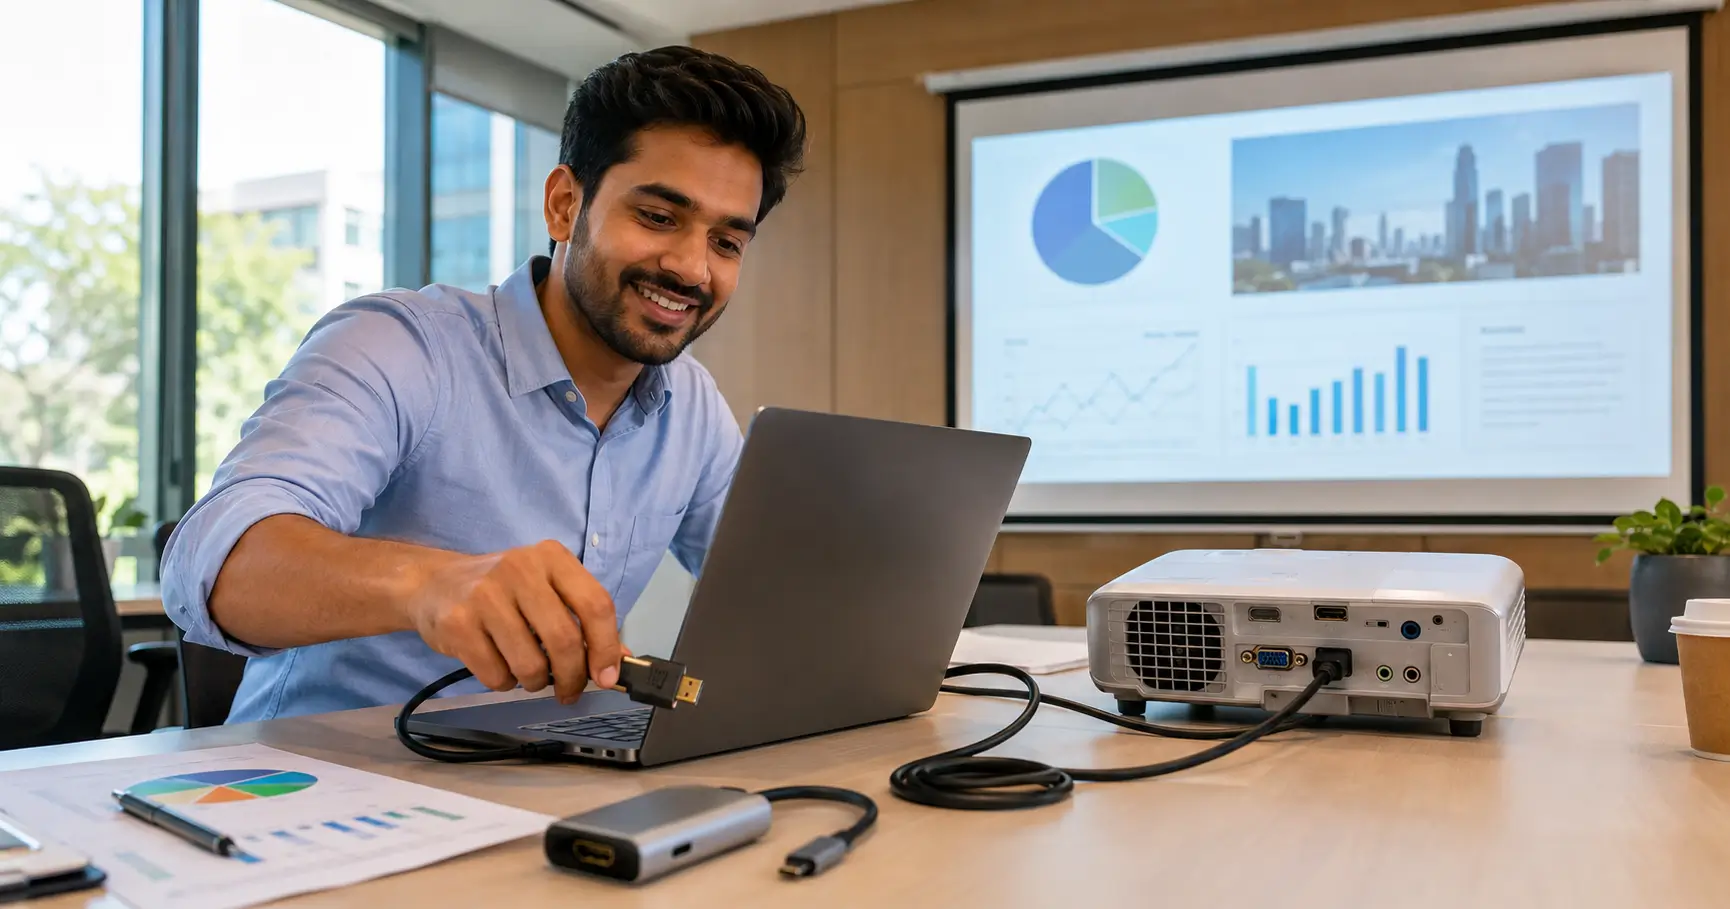
You have the presentation ready, the projector is powered on, and your laptop is sitting right beside it. Then you connect the cable—and the projector displays “No Signal.”
The good news is that learning how to connect projector to laptop is usually much easier than it looks. In most cases, you only need the correct cable or adapter, the correct projector input, and the right display setting on your laptop.
This guide explains the entire process for Windows and Mac, including HDMI, USB-C, VGA, wireless connections and the most common fixes when the picture refuses to appear.
What You Need Before Connecting a Projector
Before plugging anything in, check the ports on both devices.
The most common connection is HDMI, but newer laptops increasingly use USB-C or Thunderbolt ports. Older projectors may still use VGA.
| Laptop port | Projector port | What you may need |
|---|---|---|
| HDMI | HDMI | HDMI cable |
| USB-C with video output | HDMI | USB-C-to-HDMI adapter/cable |
| Thunderbolt | HDMI | Compatible Thunderbolt/USB-C adapter |
| VGA | VGA | VGA cable |
| USB-C | VGA | USB-C-to-VGA adapter |
| Wireless-capable laptop | Wireless projector | Miracast, AirPlay or compatible wireless system |
The important point is that USB-C does not automatically mean video output. The laptop’s USB-C port must support an appropriate display mode, such as DisplayPort Alternate Mode. Microsoft notes that supported USB-C display connections can carry video and audio through HDMI or DisplayPort Alternate Modes.
If you’re unsure, check your laptop’s specifications before buying an adapter.
How to Connect Projector to Laptop With HDMI
HDMI is generally the simplest wired option when both devices have compatible HDMI ports.
Epson’s projector documentation specifically describes connecting a computer or laptop to a projector using HDMI, with one end connected to the source and the other to the projector’s HDMI input.
Step 1: Turn on the projector
Power on the projector and wait for it to complete its startup process.
If your projector has an input or source button, keep the remote nearby. You may need it in the next step.
Step 2: Connect the HDMI cable
Plug one end of the HDMI cable into your laptop’s HDMI output.
Plug the other end into the projector’s HDMI input.
Make sure both connectors are inserted firmly.
Step 3: Select the correct projector input
This step is easy to overlook.
Use the projector remote or control panel and select Source, Input, or a similar option.
Choose the HDMI input you actually used—for example, HDMI 1 or HDMI 2.
A projector can be working perfectly while showing “No Signal” simply because it is listening to a different input.
Step 4: Choose the laptop display mode
On Windows, press:
Windows + P
You should see several options, including Duplicate, Extend, and Second screen only. Microsoft documents these four display modes for Windows: PC screen only, Duplicate, Extend and Second screen only.
For a presentation, Duplicate is usually the easiest choice.
It shows the same content on your laptop and projector.
Choose Extend when you want the projector to act as a second display.
Step 5: Wait for the image
Give the laptop a few seconds to detect the projector.
If nothing appears, don’t immediately assume the cable is defective. Check the projector input, display mode, adapter and resolution before replacing hardware.
How to Connect a USB-C Laptop to a Projector
Many modern thin laptops don’t have a full-size HDMI port.
Instead, they may provide USB-C or Thunderbolt ports.
In that situation, you may need a USB-C-to-HDMI adapter or a USB-C cable that supports the appropriate video connection.
The basic setup
- Connect the USB-C adapter to the laptop.
- Connect the HDMI cable to the adapter.
- Connect the other end of the HDMI cable to the projector.
- Select the correct HDMI input on the projector.
- Choose your display mode on the laptop.
The critical detail is compatibility.
Not every USB-C port supports external video.
If the projector remains blank, verify that the laptop’s specific USB-C port supports video output.
For business presentations, carrying a small USB-C-to-HDMI adapter can be useful because conference rooms don’t always use the same connection standard.
How to Connect a MacBook to a Projector
Connecting a MacBook is similar, but the required cable depends on the Mac model.
Apple says Macs can connect to external displays through HDMI, Thunderbolt and USB-C connections, with an adapter available when the computer and display use different connectors.
If your Mac has HDMI
Connect an HDMI cable directly from the Mac to the projector.
Then select the corresponding HDMI input on the projector.
If your Mac has USB-C or Thunderbolt
Use a compatible USB-C/Thunderbolt-to-HDMI adapter or appropriate display cable.
Then connect the HDMI end to the projector.
Apple recommends checking the Mac’s available ports and display capabilities before selecting the cable or adapter.
Configure the Mac display
Open:
Apple menu → System Settings → Displays
From there, you can configure the external display, resolution and arrangement.
If you want the projector to show the same content as your Mac, use the available mirroring option.
Apple notes that when an external display is connected properly, macOS should detect it automatically.
How to Connect a Laptop to an Older VGA Projector
Some older classroom and office projectors still use VGA.
If your laptop also has VGA, the process is straightforward:
- Connect the VGA cable to the laptop.
- Connect the other end to the projector.
- Select the projector’s VGA/Computer input.
- Use Windows + P on Windows to select Duplicate or Extend.
- Adjust the resolution if necessary.
The bigger challenge comes with modern laptops.
If your laptop only has HDMI or USB-C while the projector only accepts VGA, you need a compatible digital-to-analog adapter.
Don’t assume that every inexpensive cable works in both directions. HDMI-to-VGA and VGA-to-HDMI are not necessarily interchangeable because the signals use different technologies.
How to Connect a Laptop to a Projector Wirelessly
Wireless projection can eliminate cables, but compatibility is more important than with a basic HDMI setup.
On Windows 11, Microsoft supports wireless connections to projectors and other external displays that support Miracast. You can press Windows + K and select the available wireless display.
Windows wireless connection
- Turn on the projector.
- Enable its wireless display or screen-mirroring feature.
- On the laptop, press Windows + K.
- Select the compatible projector or wireless display.
- Follow any on-screen instructions.
The exact menu names vary by projector manufacturer.
Wireless casting through Chrome
Some projectors or connected streaming devices support Google Cast.
In Chrome, you can select:
More → Cast, save and share → Cast
Then choose the appropriate source and receiving device.
Google explains that Chrome can cast an entire computer screen on Windows, Mac and Chromebook, although audio behavior can differ depending on the casting method and platform.
For an important business presentation, however, a wired HDMI connection is often preferable because it removes variables such as Wi-Fi congestion and wireless compatibility.
What to Do If the Projector Says “No Signal”
This is where most connection problems happen.
Before buying another cable, work through the following checklist.
1. Check the projector input
This is one of the most common causes.
If the HDMI cable is connected to HDMI 2, but the projector is set to HDMI 1, the projector may report no signal.
Switch between the available inputs.
2. Check the laptop display mode
On Windows, press:
Windows + P → Duplicate
If the projector suddenly displays your screen, the connection was working and the problem was simply the display mode.
3. Reconnect the cable
Disconnect both ends of the HDMI cable and reconnect them firmly.
Also inspect the ports for physical damage or debris.
4. Remove unnecessary adapters
If possible, temporarily simplify the connection.
For example:
Laptop → USB-C adapter → HDMI cable → projector
is easier to diagnose than:
Laptop → USB-C hub → extension cable → HDMI adapter → HDMI cable → projector
Every additional component creates another potential failure point.
5. Try another HDMI cable
A damaged or incompatible cable can cause intermittent connections.
If possible, test with a known-working cable.
6. Reduce the output resolution
A projector may fail to display a signal if the laptop is outputting a resolution or timing mode that the projector cannot handle.
BenQ recommends checking whether the incoming signal falls within the projector’s supported resolution and timing range when troubleshooting a blank image.
If you’re connecting to an older projector, try a lower resolution such as 1920×1080 or another resolution supported by that specific projector.
7. Restart the connection
Disconnect the cable, restart the projector and laptop, then reconnect them.
This simple step can force the devices to renegotiate the display connection.
Why the Projector Shows an Image but No Sound
Video and audio can behave differently.
With a compatible HDMI connection, digital audio can travel through the same connection as the video. Epson documentation notes that HDMI can carry the source’s audio to the projector.
If you see the laptop screen but hear sound only from the laptop, check the operating system’s audio output.
On Windows, open the sound output selector and choose the projector or HDMI audio device if it appears.
On Mac, go to:
Apple menu → System Settings → Sound → Output
Then select the HDMI-connected display when available.
Apple specifically recommends selecting the HDMI device in the Sound output settings when an HDMI display isn’t receiving audio.
Duplicate vs Extend: Which Should You Choose?
The choice depends on what you’re doing.
| Mode | Best for |
|---|---|
| Duplicate | Presentations, classrooms, meetings |
| Extend | Multitasking and second-screen workflows |
| Second screen only | Showing content exclusively through the projector |
| PC screen only | Disconnecting from the projector |
For a PowerPoint presentation, Duplicate is usually the safest option.
For example, you can see speaker notes on your laptop while using a separate presentation display when your presentation software supports presenter mode.
A Real-World Example: Fixing a “No Signal” Presentation
Imagine you’re about to start a college presentation.
The laptop is connected to the projector through HDMI, but the projector says “No Signal.”
Instead of replacing the cable immediately, check these three things:
First: Is the projector set to the correct HDMI source?
Second: Is Windows set to Duplicate or Extend?
Third: Does the laptop recognize the external display?
If all three are correct, then test the cable and adapter.
This troubleshooting order is efficient because it starts with configuration problems that cost nothing to fix before moving toward hardware replacement.
Common Mistakes to Avoid
Using the wrong projector input
Plugging into HDMI 2 while the projector remains on HDMI 1 is extremely common.
Assuming every USB-C port supports video
USB-C describes the connector shape, not necessarily every feature supported by the port.
Buying the wrong adapter
Check the direction and standards of the adapter before purchasing.
Ignoring resolution compatibility
Older projectors may have limitations that modern laptops don’t automatically account for.
Using wireless projection for critical presentations without testing
Wireless connections can be convenient, but a wired backup is sensible for important meetings, exams and conferences.
Forgetting audio settings
A successful picture does not guarantee that audio will automatically switch to the projector.
Myths vs Facts
| Myth | Fact |
|---|---|
| Any USB-C port can connect to a projector. | Not necessarily. The port must support compatible video output. |
| HDMI automatically selects the correct projector input. | The projector may still be set to another source. |
| Wireless is always better than HDMI. | Wireless is convenient, but HDMI is often simpler and more predictable. |
| A black screen always means the cable is broken. | Display mode, input selection, resolution and adapters can also cause the problem. |
| Bluetooth is the normal way to send laptop video to a projector. | Bluetooth is generally not the primary video connection method for laptop projection. |
The Fastest Projector Setup Checklist
If you’re in a hurry, follow this sequence:
- Turn on the projector.
- Identify the laptop’s video output.
- Connect the correct cable or adapter.
- Connect the cable to the projector’s video input.
- Select the matching projector source.
- Press Windows + P on Windows and choose Duplicate or Extend.
- Open Displays on Mac and confirm the projector is detected.
- Check audio output if you need projector sound.
- If there is no signal, test another input, cable or adapter.
- For important presentations, test everything before the audience arrives.
Key Takeaways
The easiest way to connect most laptops to projectors is through HDMI.
If your laptop doesn’t have HDMI, a compatible USB-C-to-HDMI adapter may solve the problem—but first confirm that the USB-C port supports video output.
Windows users can quickly manage projection modes with Windows + P, while Windows 11 also supports wireless projection through Windows + K for compatible displays.
Mac users can manage connected displays through System Settings → Displays, with adapters available for Macs whose ports don’t match the projector.
And if the projector says “No Signal,” don’t panic. Check the input source, display mode, cable, adapter and supported resolution in that order.
A five-minute pre-presentation test can save you from a very uncomfortable five-minute troubleshooting session in front of your audience.
FAQ
How do I connect my laptop to a projector?
The simplest method is HDMI. Connect the HDMI cable from the laptop to the projector, select the matching HDMI input on the projector, then choose the appropriate display mode on your laptop.
How do I connect a laptop to a projector with HDMI?
Connect one end of the HDMI cable to the laptop and the other to the projector. Select the correct HDMI source on the projector. On Windows, press Windows + P and choose Duplicate or Extend.
Why is my projector saying “No Signal”?
Common causes include the wrong projector input, an incorrectly connected cable, an unsupported resolution, a faulty adapter or the laptop not switching to the external display.
Can I connect a projector to a laptop without HDMI?
Yes. Depending on the devices, you can use USB-C, Thunderbolt, VGA or a compatible wireless display connection.
How do I connect a MacBook to a projector?
Connect the MacBook using HDMI, USB-C or Thunderbolt, depending on the available ports. If necessary, use a compatible adapter. Then open System Settings → Displays to configure the projector.
Can I connect a laptop to a projector wirelessly?
Yes, if the projector or an attached wireless display adapter supports a compatible technology such as Miracast or Google Cast. Windows 11 supports compatible wireless displays through Windows + K.
Conclusion
Connecting a laptop to a projector doesn’t need to become a last-minute technology crisis.
For most setups, HDMI is the simplest starting point. If your laptop uses USB-C or Thunderbolt, use a compatible video adapter or cable. If you prefer wireless projection, make sure both the laptop and projector support the same wireless-display technology.
And when the dreaded “No Signal” message appears, work through the basics first: check the projector input, verify the laptop display mode, reconnect the cable, test the adapter and confirm resolution compatibility.
Once you know those few steps, connecting a projector to a laptop becomes a routine task rather than something you have to troubleshoot every time.
Save this guide before your next presentation, classroom session or movie night—and test the connection before you actually need it.
Disclaimer
Disclaimer: Projector and laptop connection methods vary by device model, operating system, available ports and supported display standards. The instructions in this guide are intended for general informational purposes. Always check the official documentation for your specific laptop, projector, cable or adapter before making a purchase or changing advanced display settings. Wireless features, resolutions and compatibility may differ between manufacturers and models.